Showing posts with label DIY. Show all posts

6.13.2009

vertebrae hoodie (DIY)


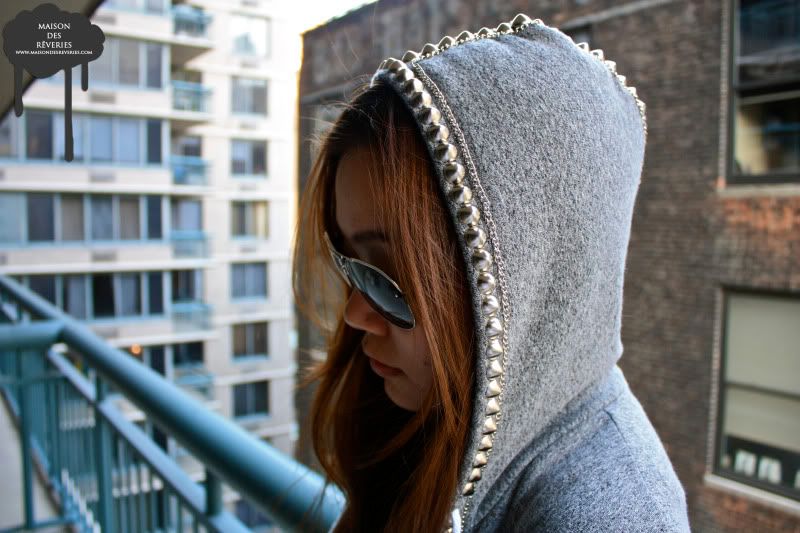
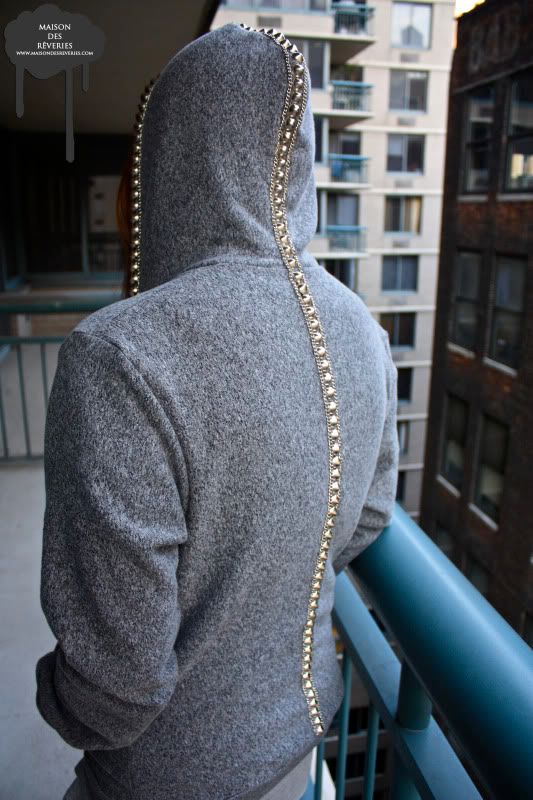
One of my favorite things to throw on under a leather vest or jacket is a hoodie - perfect for those days when it's a little chilly out but not cold enough for a coat, or you just want to be a little incognito under your hood. I decided to amp up my go-to AA hoodie with some studs and chains and after seeing the finished result, I've decided it's totally taken on a personality, like the former's bad-ass long lost twin. Plus, giving new life to old basics is really good for my shopping detox. Here's how I did it:
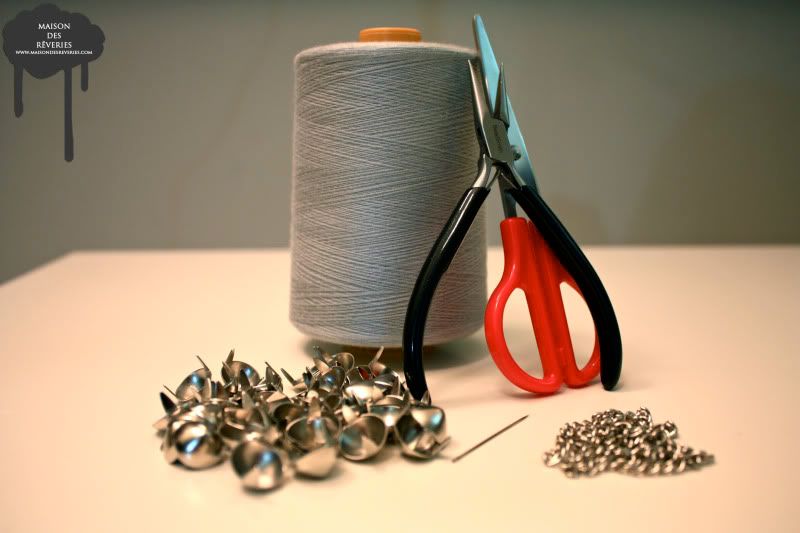

What you'll need: Grey thread, Needle, Pliers, Scissors, 1/2" cone studs, silver chain, ruler, white chalk pencil or tailor's chalk. Try to use a chain that has links thick enough to thread a needle through.
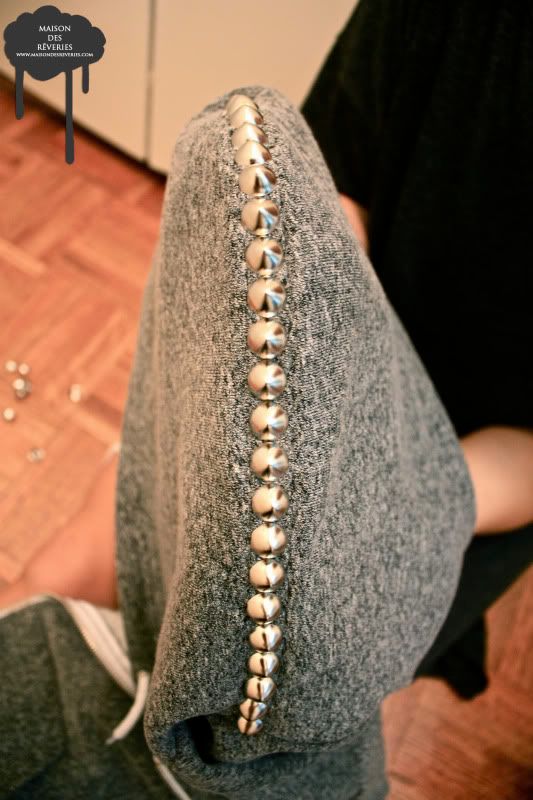

Step one: Using the middle seam of the hood as your guide, stud along those lines down the middle of the hood and try to maintain as straight of a line as possible.
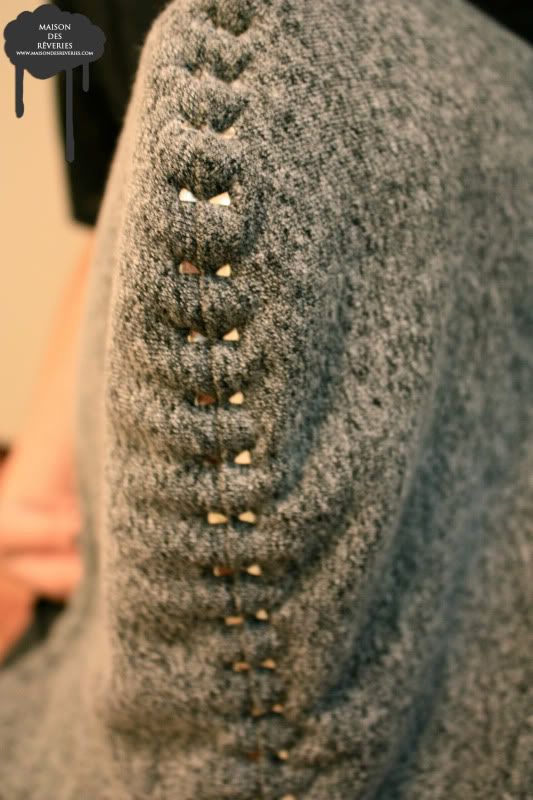

Step two: The inside of the hood should look something like this.
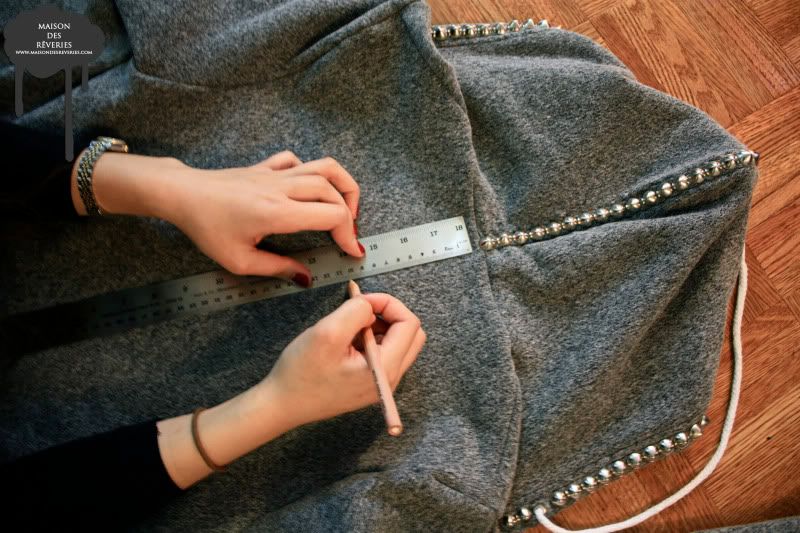

Step three: Stud along the sides of the hood that frame the face. Follow the already sewn seams to help you keep a straight line. Once you have completed studding the hood, grab a ruler and either tailor's chalk or a chalk pencil and using each side of the studs on the hood as a guide, draw two lines that run straight down the entire back. These lines should form one long column. I would advise making these lines as visible as possible as they are imperative in being able to stud in a straight line.
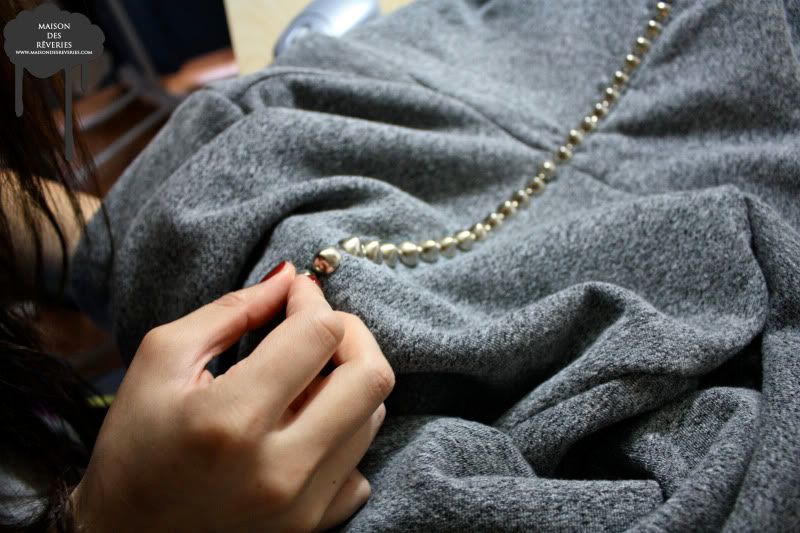

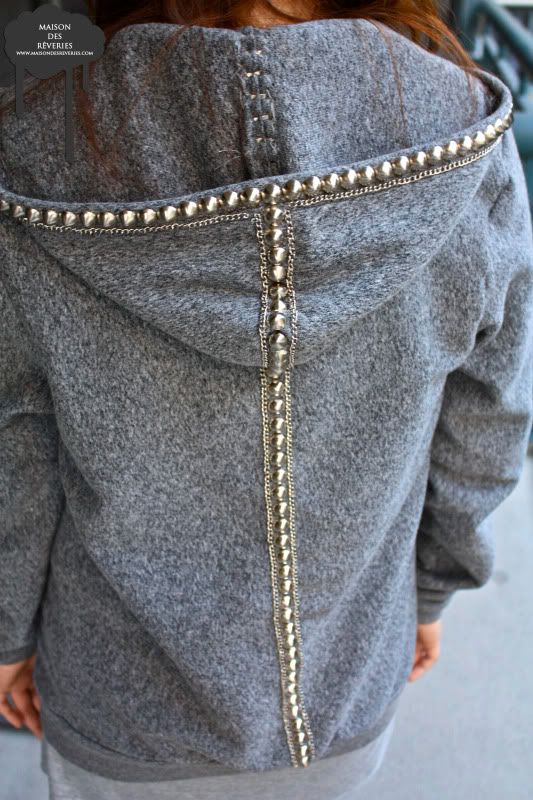
Step four: Using the column as a guide, stud inside those lines down the entire length of the back until you reach the bottom ribbing.
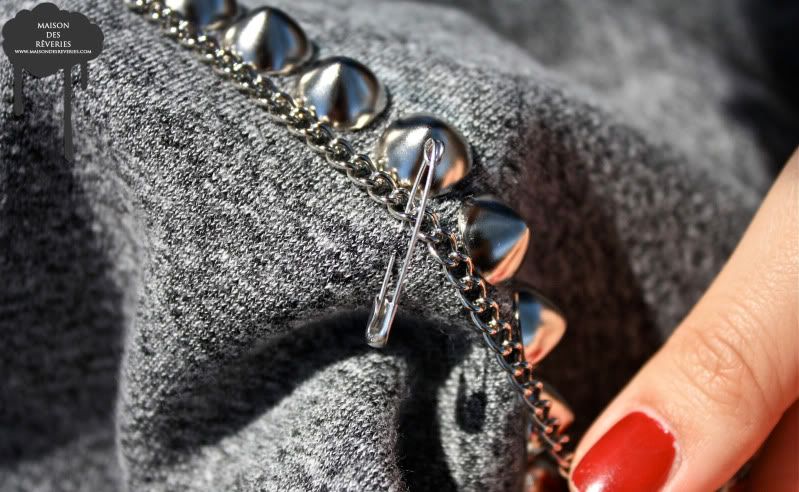

Step five: The chain should be sewn on to frame the studs. To sew on the chain, use a safety pin to hold the chain taut and flat as you are going along. Try not to pin the chain too far down from where you are working because the chain will not stay taut and straight.
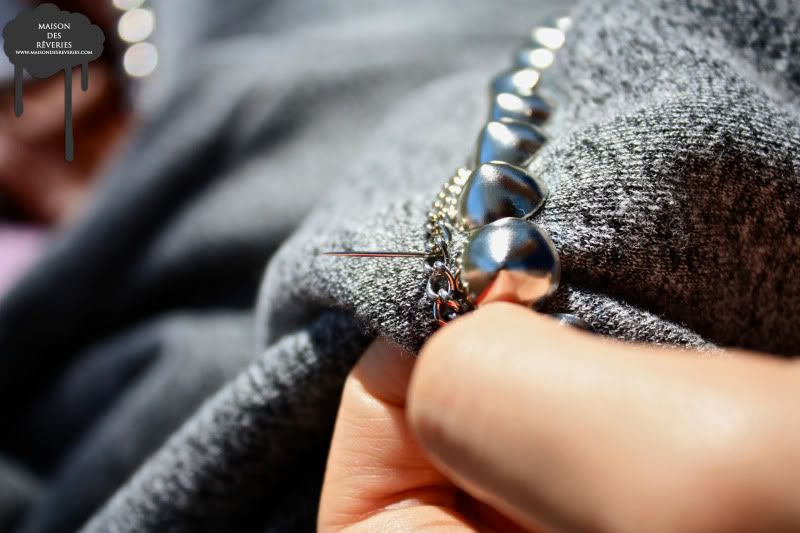

Step six: Poke the needle through the hoodie and thread it through a link of the chain.
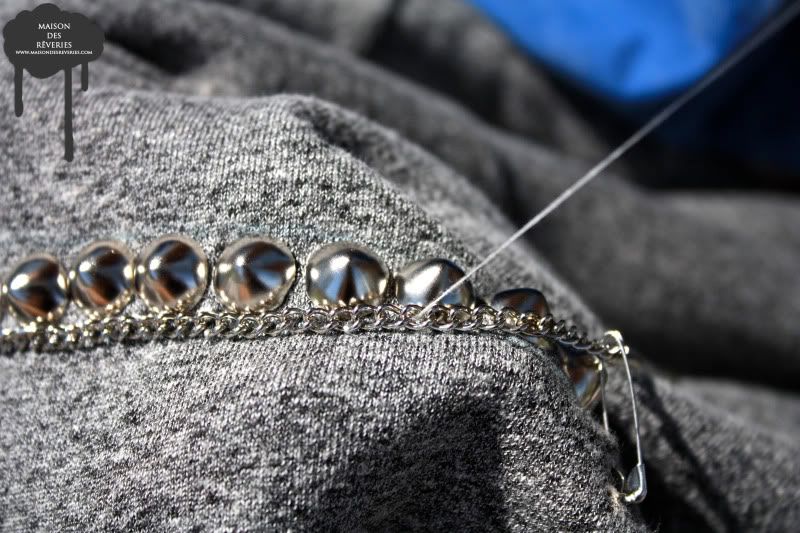

Step seven: It is best to sew down every chain for the first few links to get it going, and then you can sew just every 2-3 links.
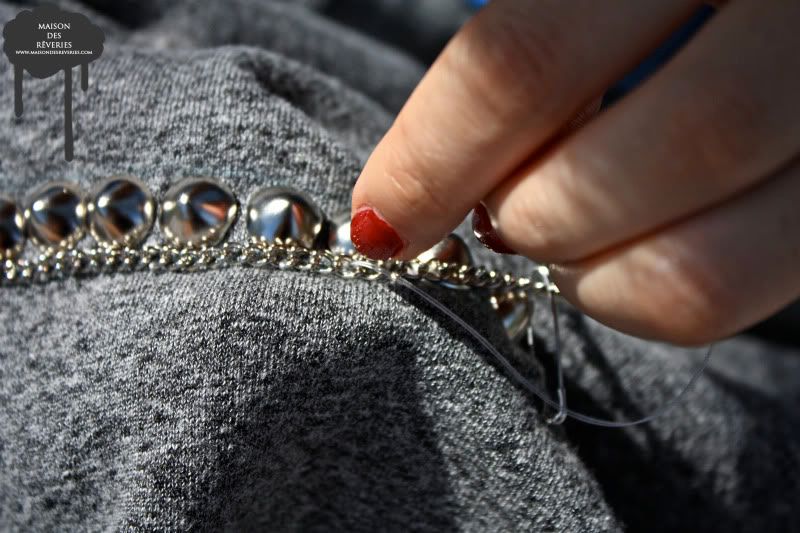

Step eight: When you are sewing the links, try to alternate from left to right as you weave in and out. If you sew only to one side, the chain will flip over towards that direction because it has nothing holding it down on the other side.
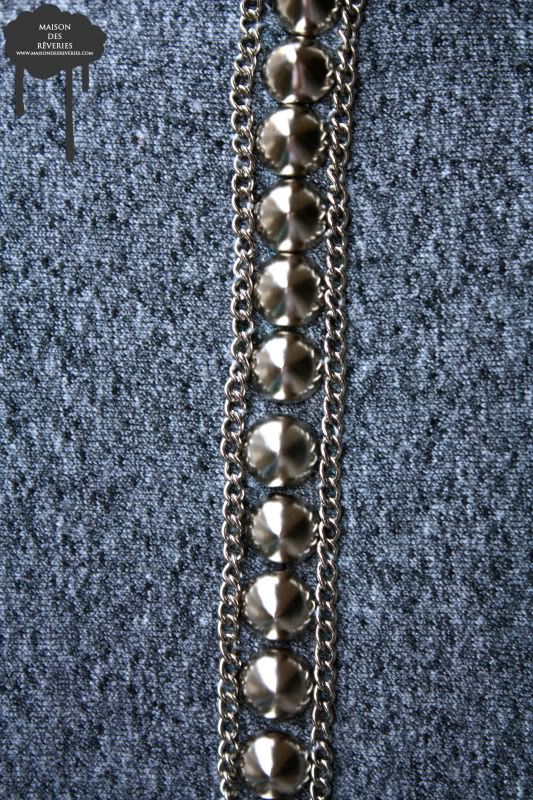

When you have finished sewing the chain down the hood, it should look something like this.



Let me know if you have any questions!!

3.28.2009

allegra comme la lanphear (DIY)


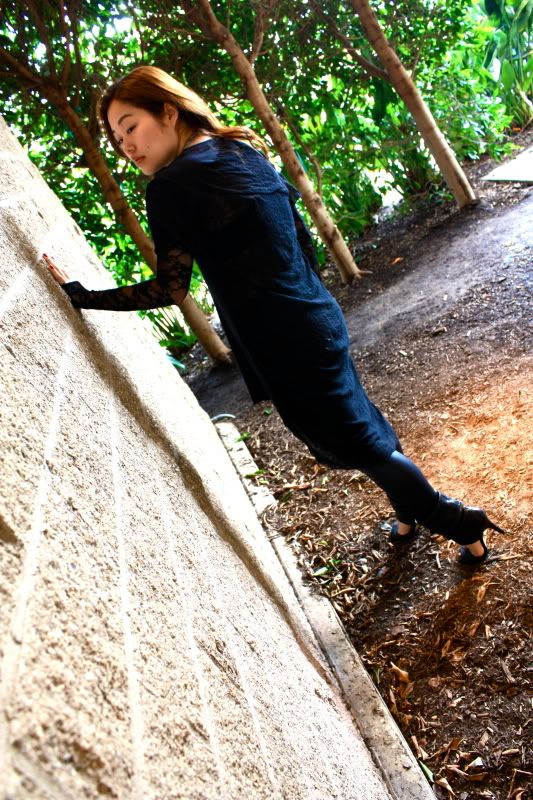
I'm sure all of you saw this amazing photo of Kate a while back on Jak&Jil. I was kind of floored by how the length of this top made it infinitely cooler than any other Allegra design I'd seen so far. So I decided this would be another great piece to DIY. If you've noticed, my first clothing DIY was a black blazer, which is a wardrobe staple, and this one requires nothing else other than a black t-shirt dress. I think that is the greatest thing about DIYs -- you can remake some of the pieces you already have into something fresh again so you won't just want to toss it and get something new.

What you'll need:
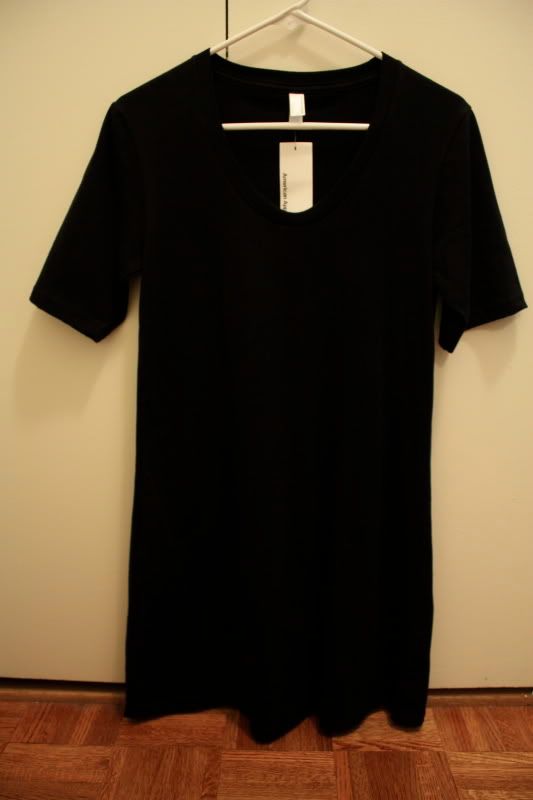
Simple t-shirt dress or a very very long t-shirt. I used the Crew Neck T-shirt dress from American Apparel. Any color will do.

I know all of you must already know how to shred a tee-shirt after seeing Camille's detailed tutorial on her blog Childhood flames. If somehow you have missed out or want to revisit it, you can find it here.

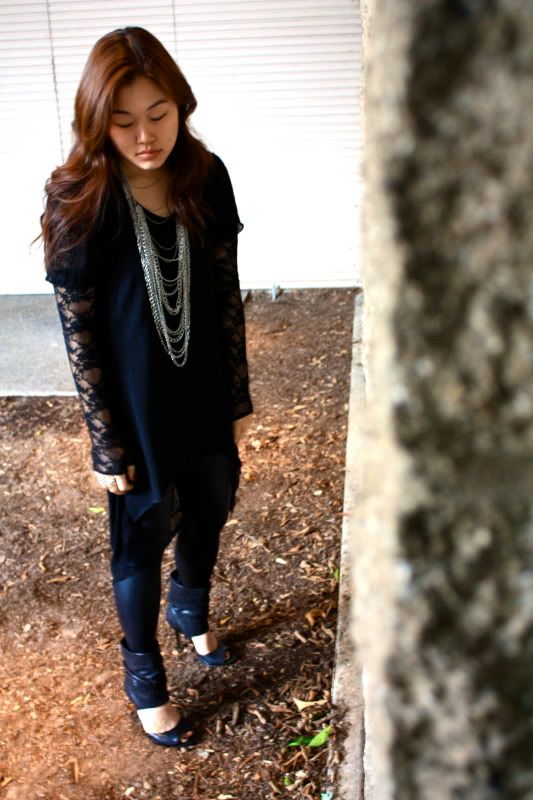
For this version, I shredded the entire back, the sleeves, and left the front intact. I didn't cut up the front as much as the original because I wanted to wear it more as a dress, but still snipped snipped up the front side to give it an angular look. VOILA:


Outfit details: AA shredded t-shirt dress, Intermix lace gloves, random chains.

This is just the beginning of a series of DIYs that I will be working on in the next few weeks. The next one will be a goodie I PROMISE :D

3.13.2009

wrapped up in chains

A new version of the ringlet (ring - bracelet). Thicker chains. Color contrast. Gangsta.

3.06.2009

pimp out my pom (DIY)

It seems that these days, everyone is on a studding rampage (myself included). It's hard to find something new and original to stud since everything and their mom has already been studded. So since I've already studded pretty much everything I own, how bout studding everything and my pom?

What you'll need:
1/2" cone studs


A Meeko


Peanut-butter flavored treats to keep doggie occupied


I started by going down the back following the natural line of the vertebrae.


Just keep going in a straight line.


Then I moved on to his head -- I found it's easiest when he was laying down flat like so.


Meeko getting crowned.

"Look mama I'm a unicorn!!"

**disclaimer: no doggies were harmed in any way during the process of this DIY tutorial and were very well-rewarded afterwards for being so well-behaved ;)

Have a happy Friday night everyone!!

3.03.2009

metal hardware

So remember how I said that I got some new shoes this past weekend? Along with the Stella boots, I bought these bad boys at the Barney's warehouse sale.

AHHHHH yes... Miu Miu in all its amazing glory. I remember when these shoes came out, I was majorly in love, but ultimately, the Chloé Susans trumped my need for these. But ever since I got the Susans, I felt there was a big hole in my shoe closet for a good pair of flat black ankle boots with silver hardware, not gold. So during my sister's trip, I took her to the Barney's warehouse sale, which I usually never go to because it's INSANE I tell you -- but it ended up being the best decision ever because being the most awesome person that she is, my sister dug these up somewhere amidst the mounds of crap that they had there and I am forever indebted. I only wish they had had these in her size so we could've been shoe twinsies!!

Even if I'm not shoe twinsies with my sister, I am now with Natasha Poly -- I saw her wearing these in front of La Esquina months ago. MAN was she cool. OH speaking of starstyle-sightings, I spotted Vogue's Meredith Melling Burke at the Warehouse sale buying Balenciaga boots! Who knew Voguettes frequented warehouse sales lol.


Last week, I saw this crazy/cool editorial of Tallulah Morton on Knight Cat and was intrigued by the mesh bracelet that she's wearing. I used to make a lot of my own jewelry and decided upon seeing that bracelet that it's time for me to get back into it.
Photobucket
Here's her bracelet in the editorial.


I wanted to explore a similar look but with something a bit more heavy so I did it with chains.
Fiddy who's the wangsta nowwwww.


2.24.2009

chromed out (DIY)

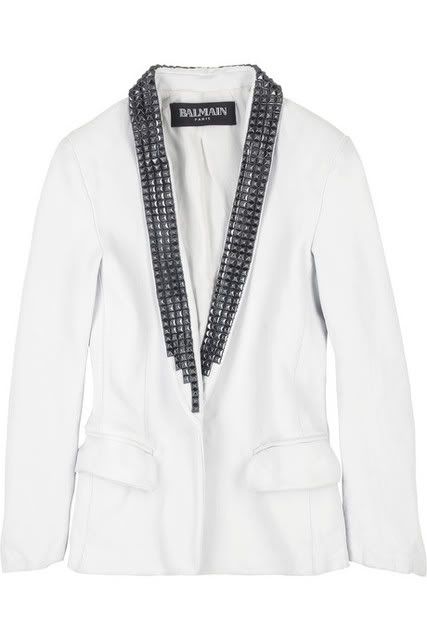
So a while back, I spotted this Balmain leather studded lapel blazer and I had a minor heart palpitation.
Photobucket
Simple, chic, perfection. But at a $4200 price tag... I think not. If YOU by chance do have the benjaminzz to purchase this leather hotness, you can buy it at Luisaviaroma.
Balmain Studded Leather Blazer

Anyway, I became fueled with desire to have something that even somewhat resembled this blazer and decided to go at it with some studs of my own and a cheapie blazer. Here's a play by play:

What you'll need if you would like a studded lapel blazer of your own (and look super cool hehe).

Simple boyfriend blazer. Mine is from H&M. This is not the time to break out the big guns because you are poking irreparable holes into this fabric.


Pyramid studs. I used 1/2" ones. You will need 200+ AT LEAST depending on the width of your lapel.


A pair of jewelry pliers to bend the backs of the studs. PLEASE don't try to do it with your fingers because you will be bleedin' all over your beautiful masterpiece by the end.


Keep studding along in rows and follow the width of the lapel to determine how many studs you can fit on that row. Try to keep them as close to one another as possible.


The difficult thing is to keep the studs straight. I found one trick that helps is to look at the back of the lapel and make sure all of the metal prongs are creating one straight line like so in the picture.


In case you were wondering, I started off at the middle of one lapel, went all the way down, and then went all the way around the neck towards the other side. Why I did this who knows but it ended up working great and both sides ended up being even :)

Finished result:


I'm wearing the blazer with a H&M corset top, See by Chloé black studded mini, and Zara thigh-highs.


This kinda thing has to be worn hair up because the back of the lapel looks siiiiick.


All in all, the whole process was worth it. My palms seem to be permanently bruised and I would advise not getting a manicure while you're doing this because that shizz will chip off left and right.

Please feel free to ask questions about the whole process!